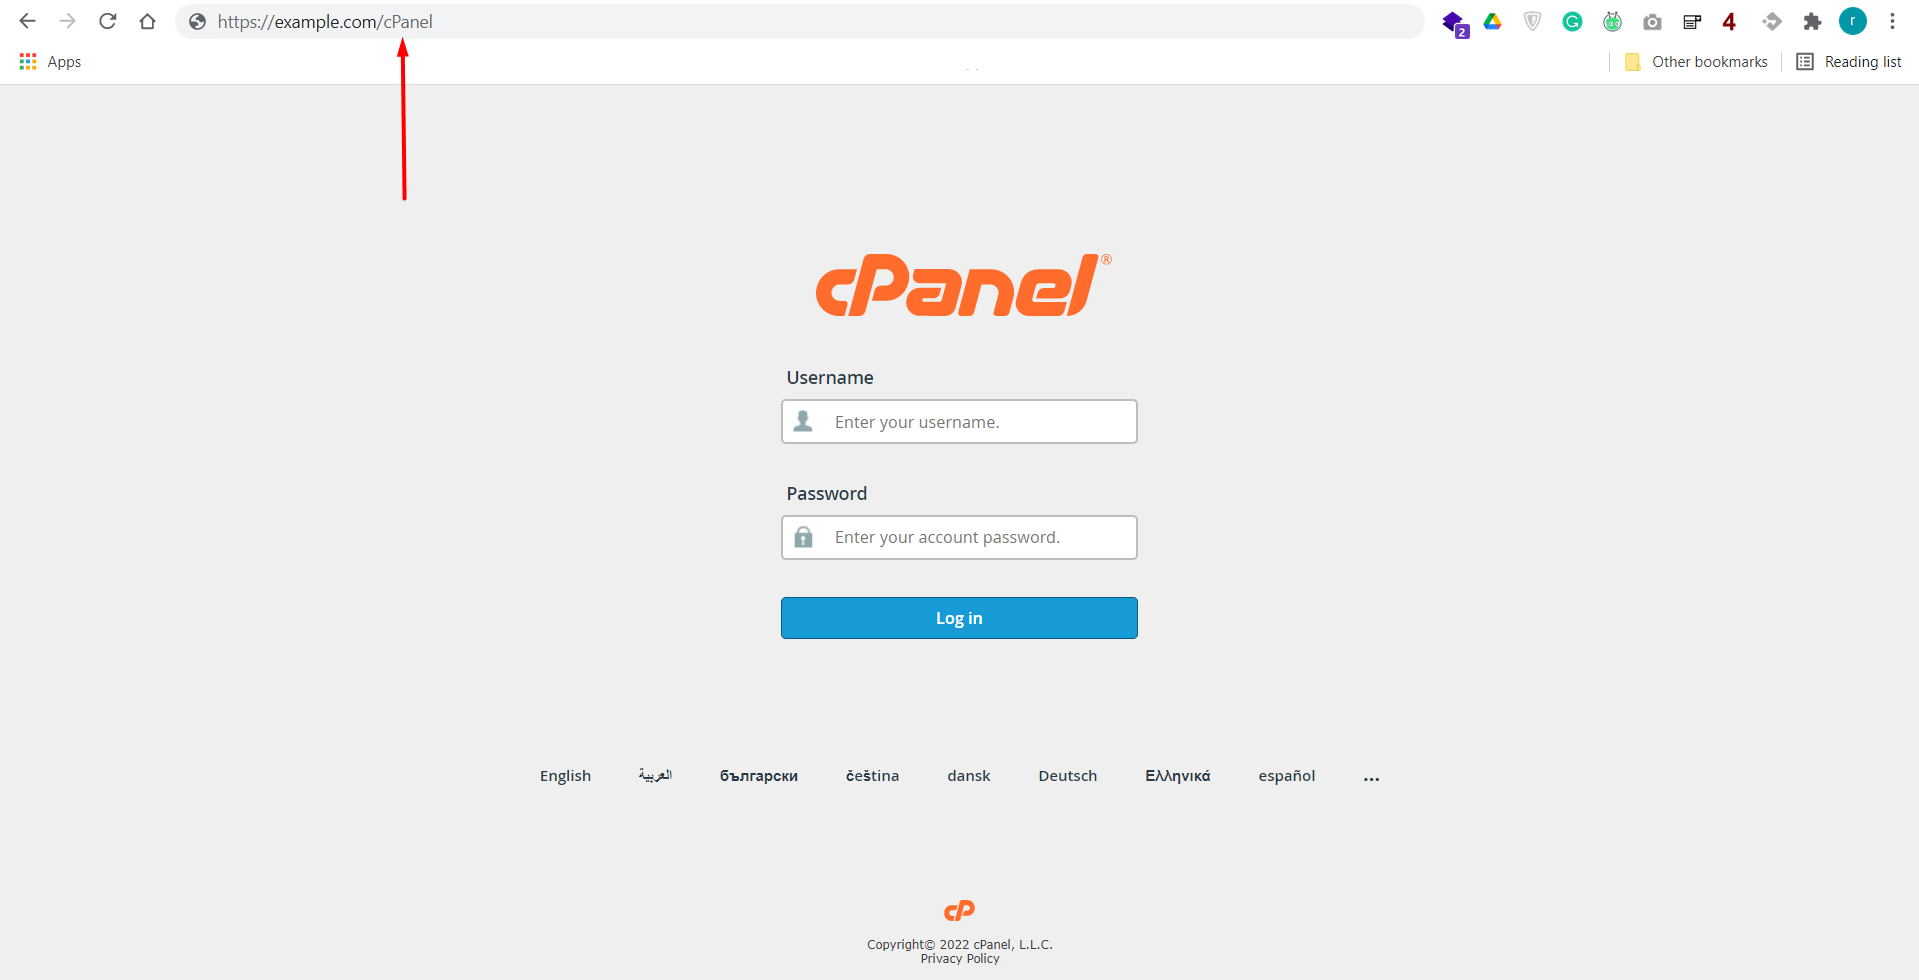
Step 01: Login into your cPanel.
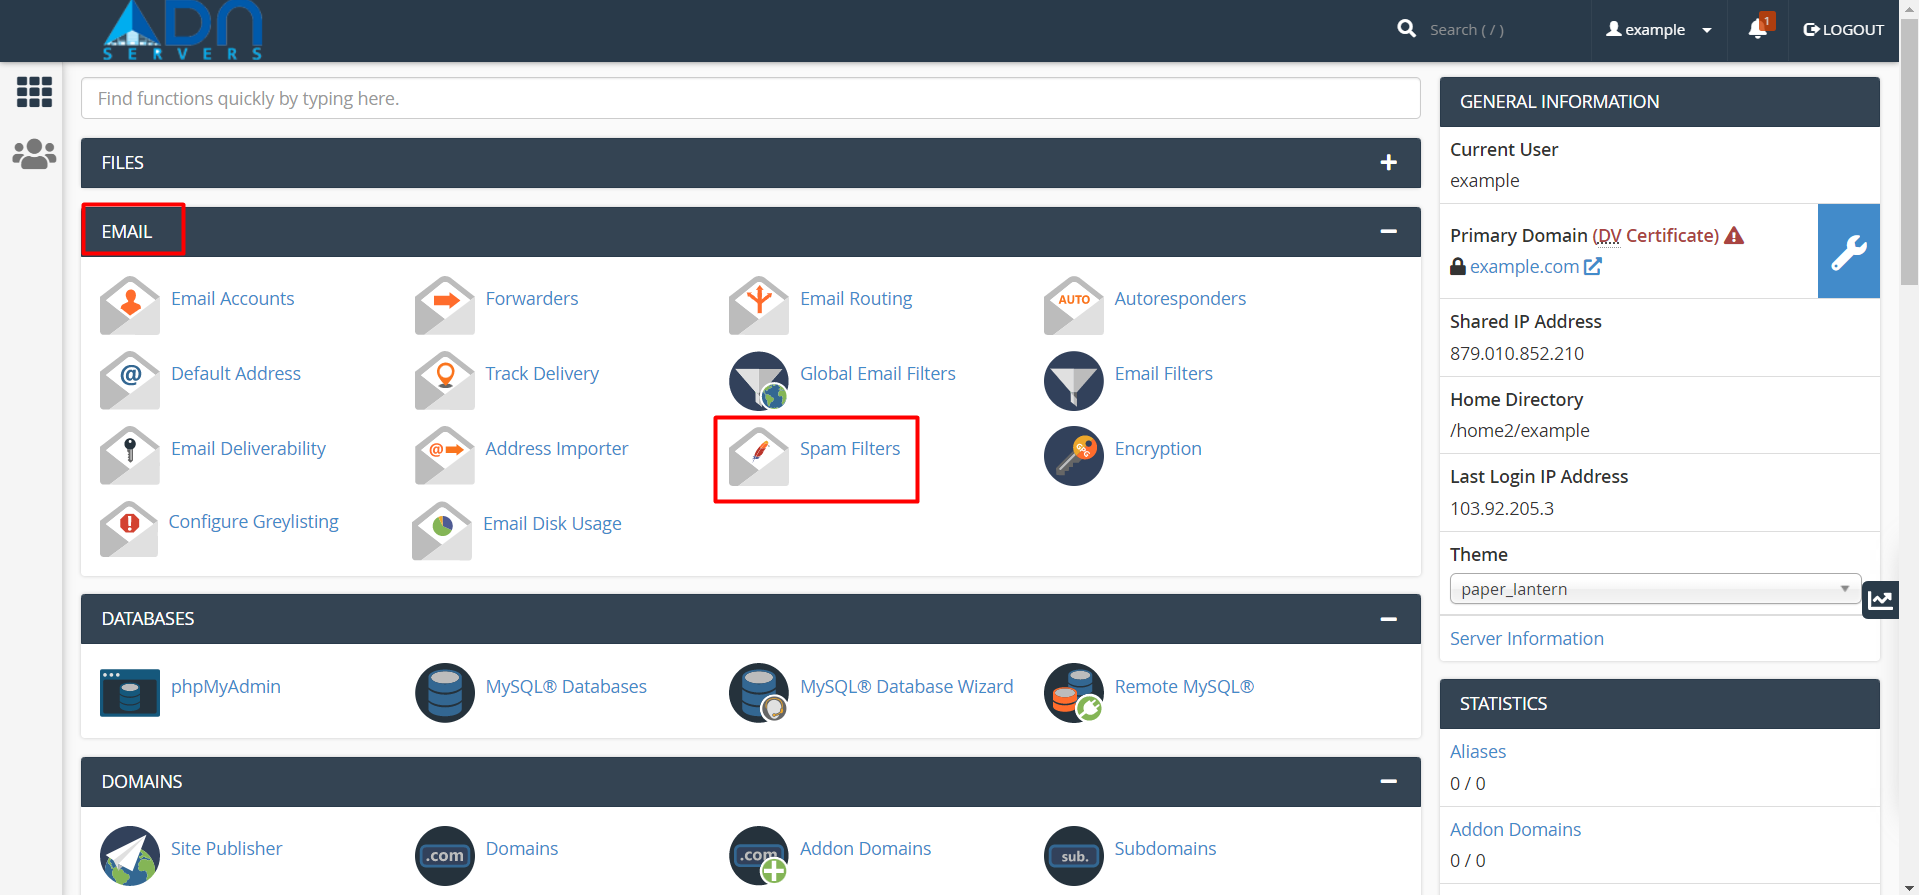
Step 02: Navigate to cPanel’s Spam Filters interface.
Step 03: Check whether Apache SpamAssassin is enabled. If it is not, click Enable Apache SpamAssassin.

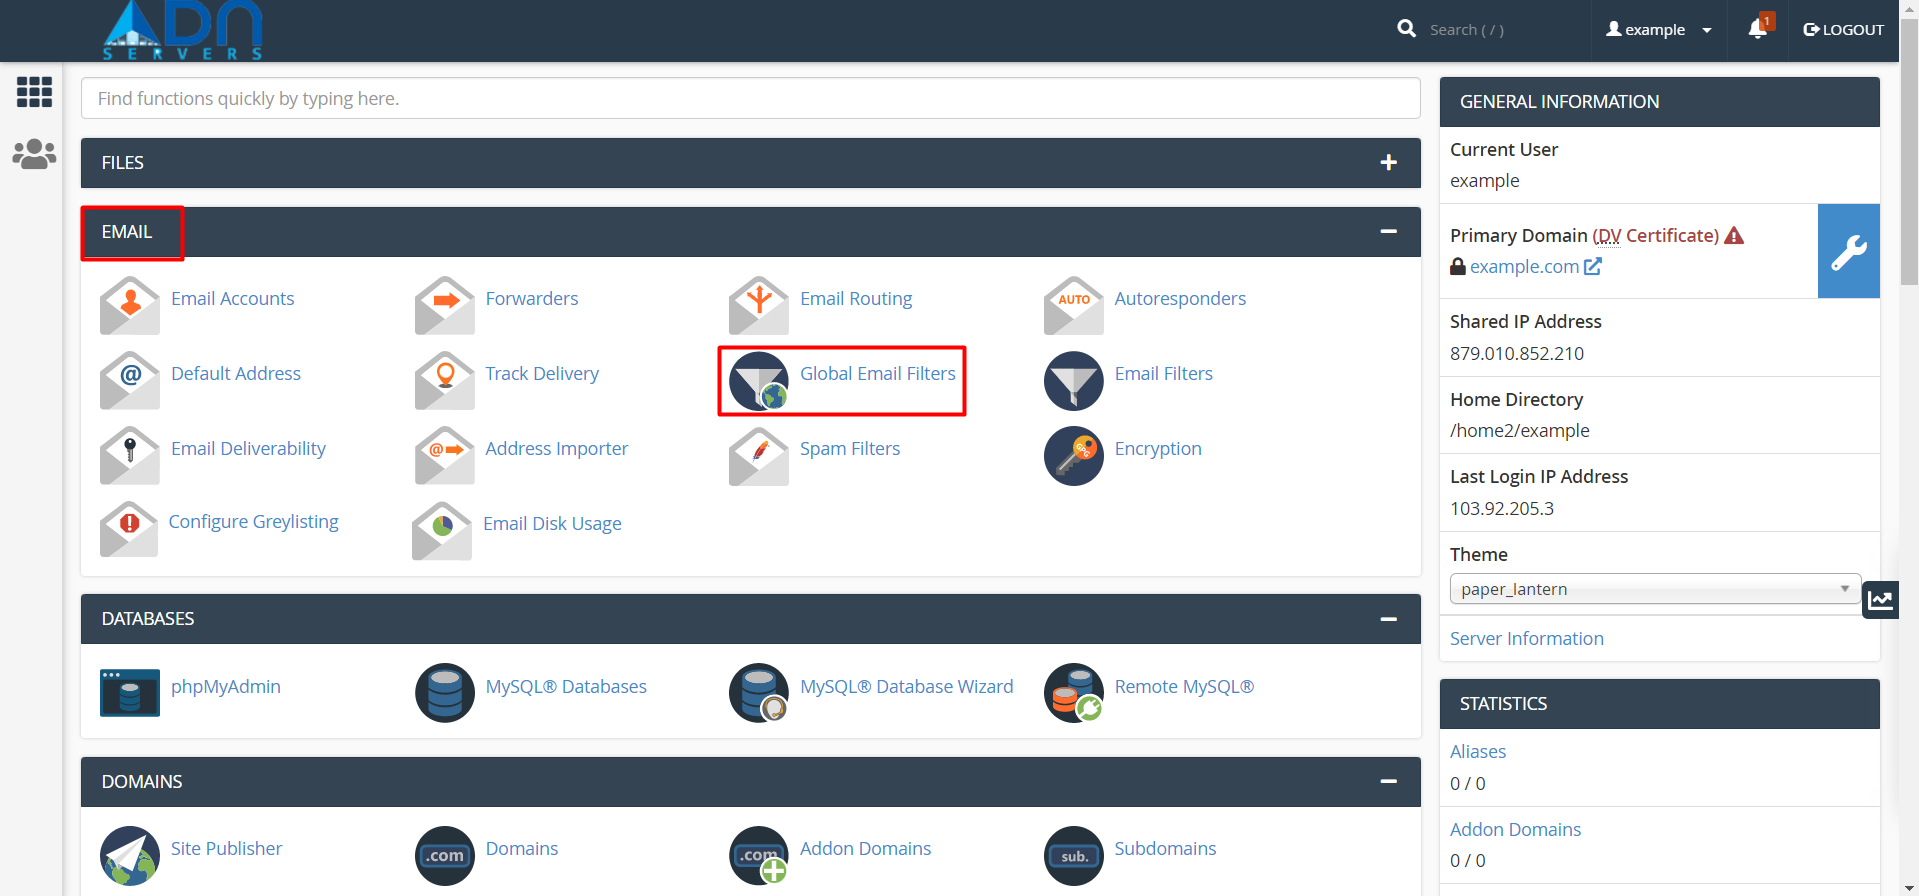
Step 04: Navigate to cPanel’s Global Email Filters interface.
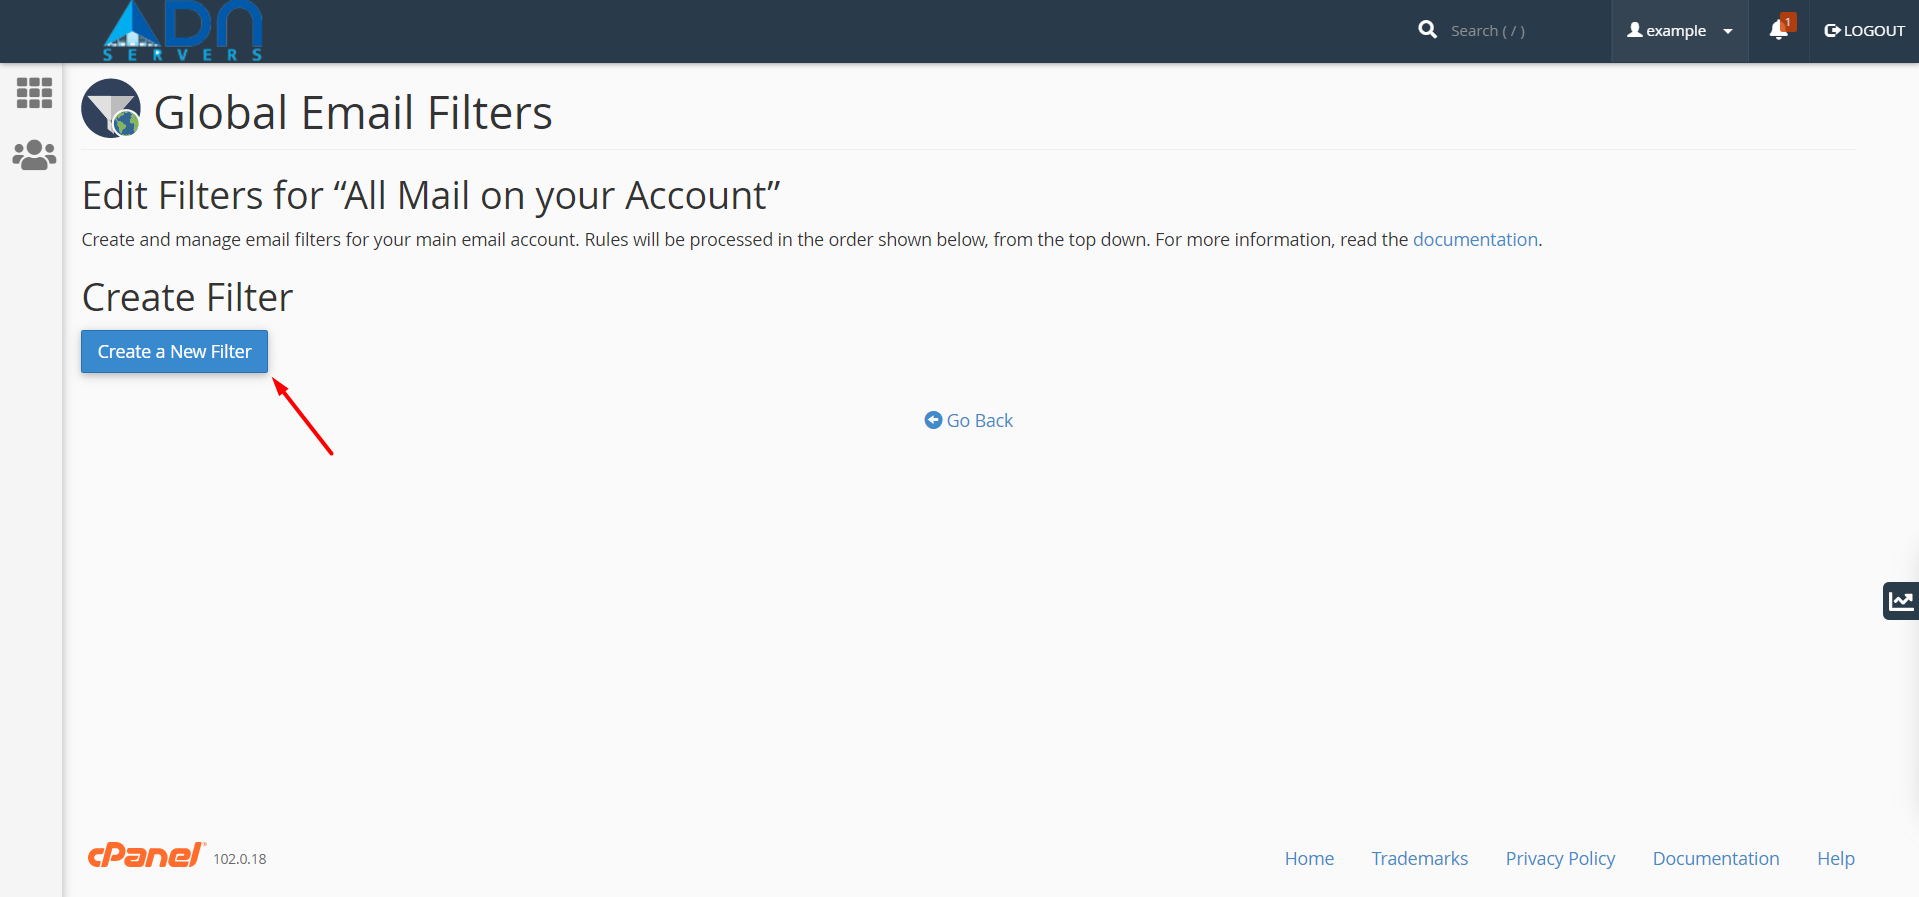
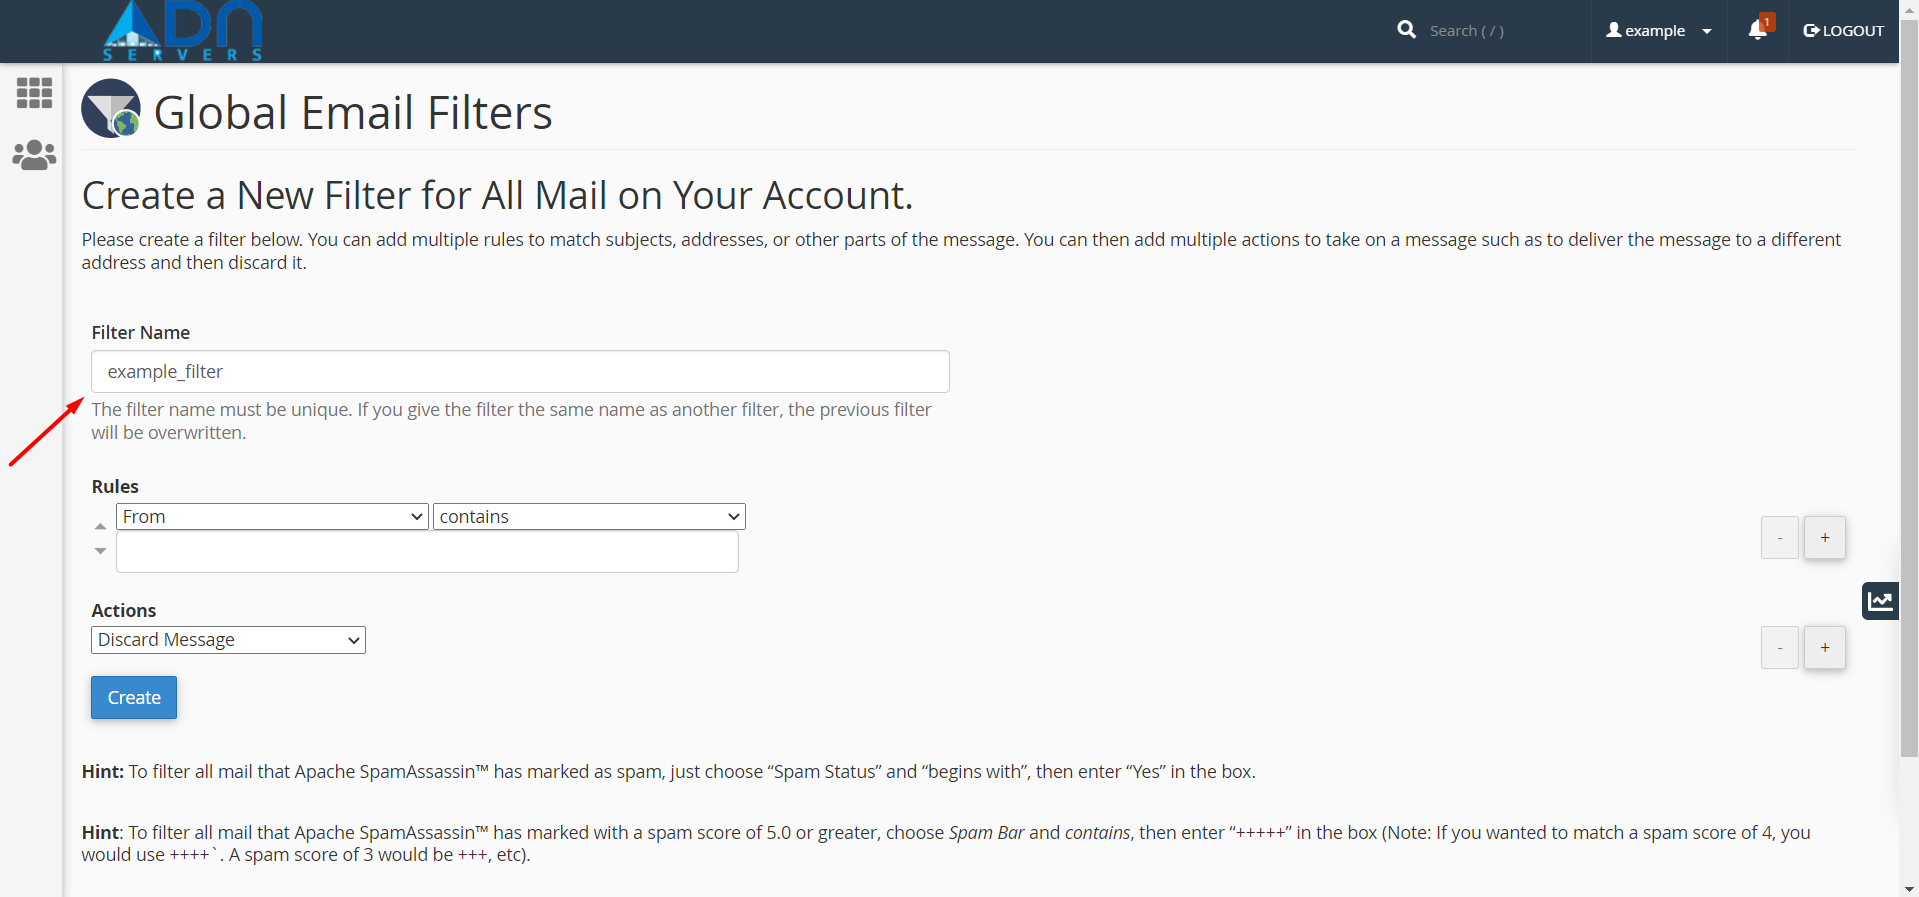
Step 05: Click Create a New Filter.
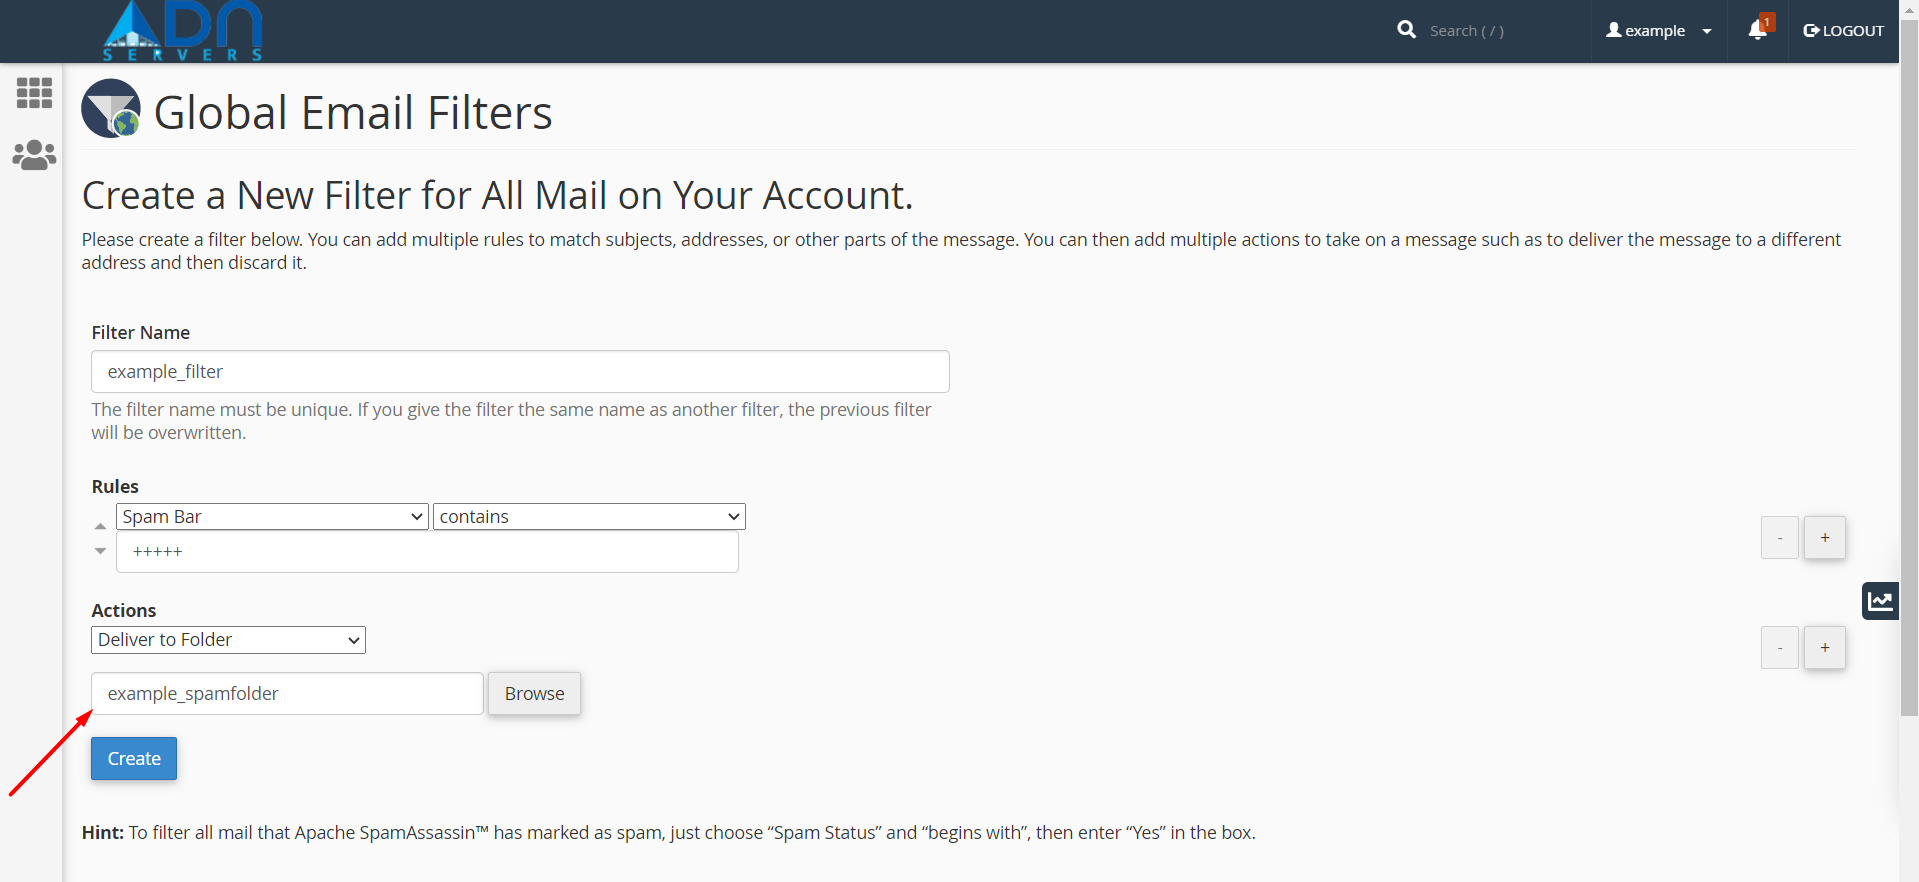
Step 06: Enter the name of your filter in the Filter Name text box.
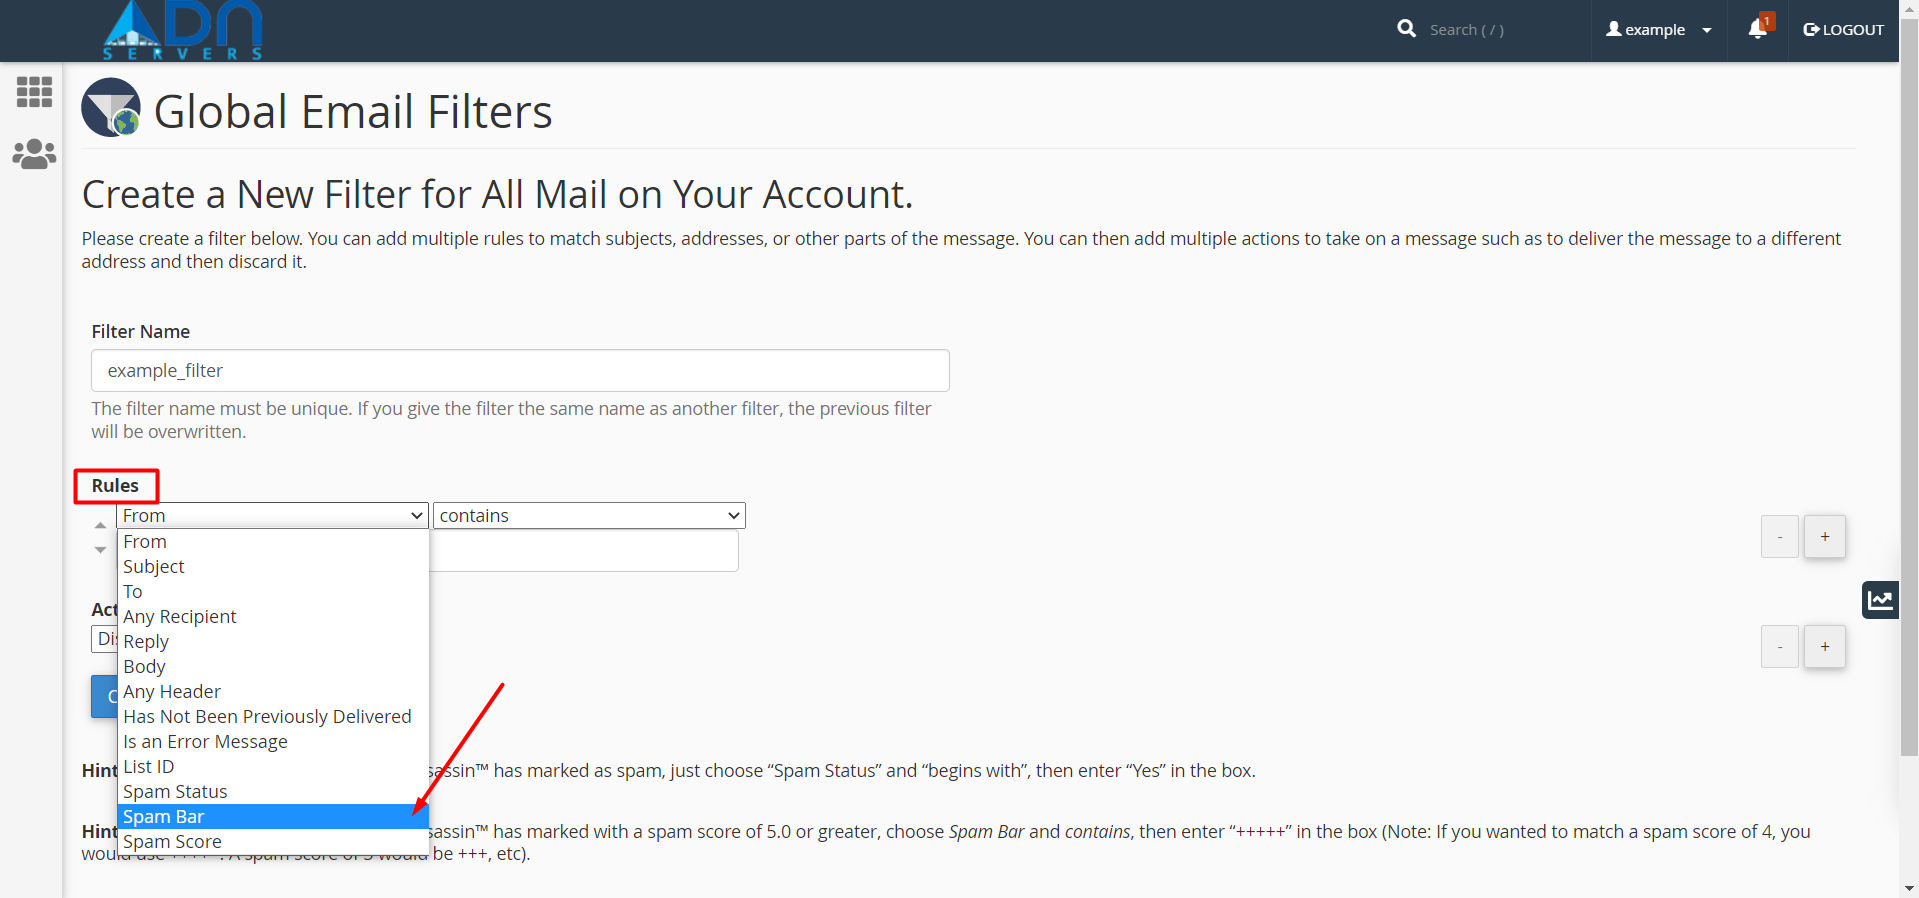
Step 07: Select Spam Bar from the first menu in the Rules section.
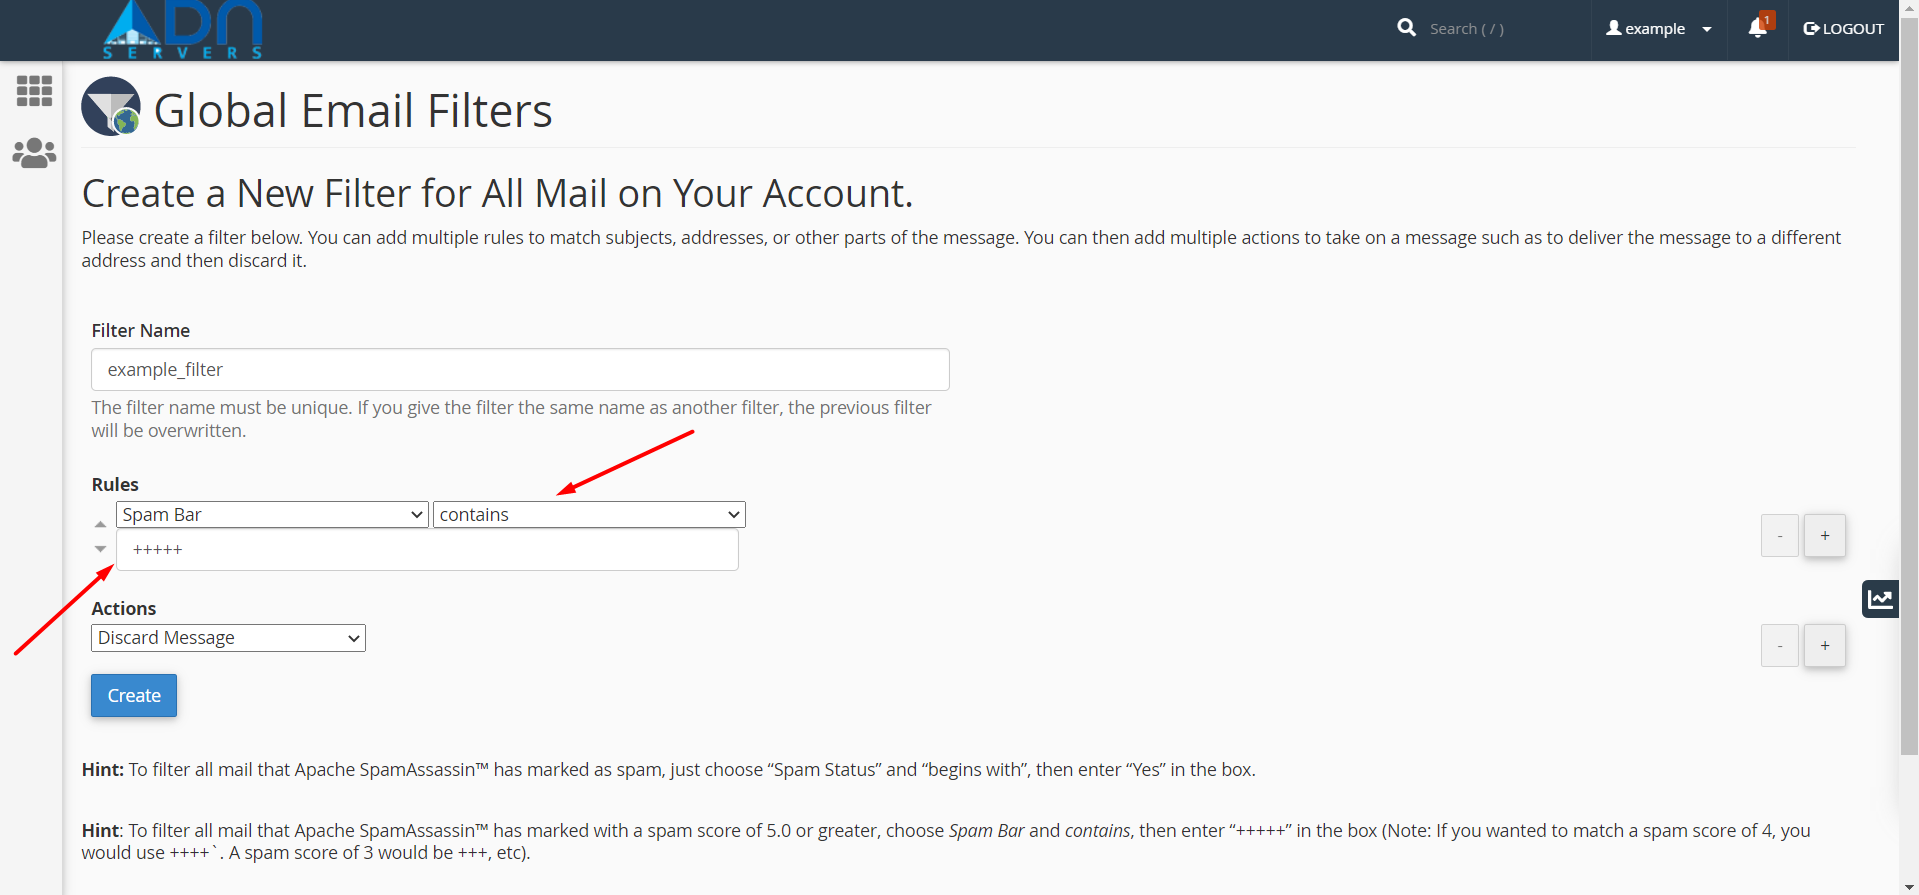
Step 08: Select contains from the second menu in the Rules section.
Enter the spam score in the text box. Represent the desired spam score with plus (+) characters.
For example, to filter all of the mail to which Apache SpamAssassin has assigned a spam score of five or higher, enter +++++ in the text box.
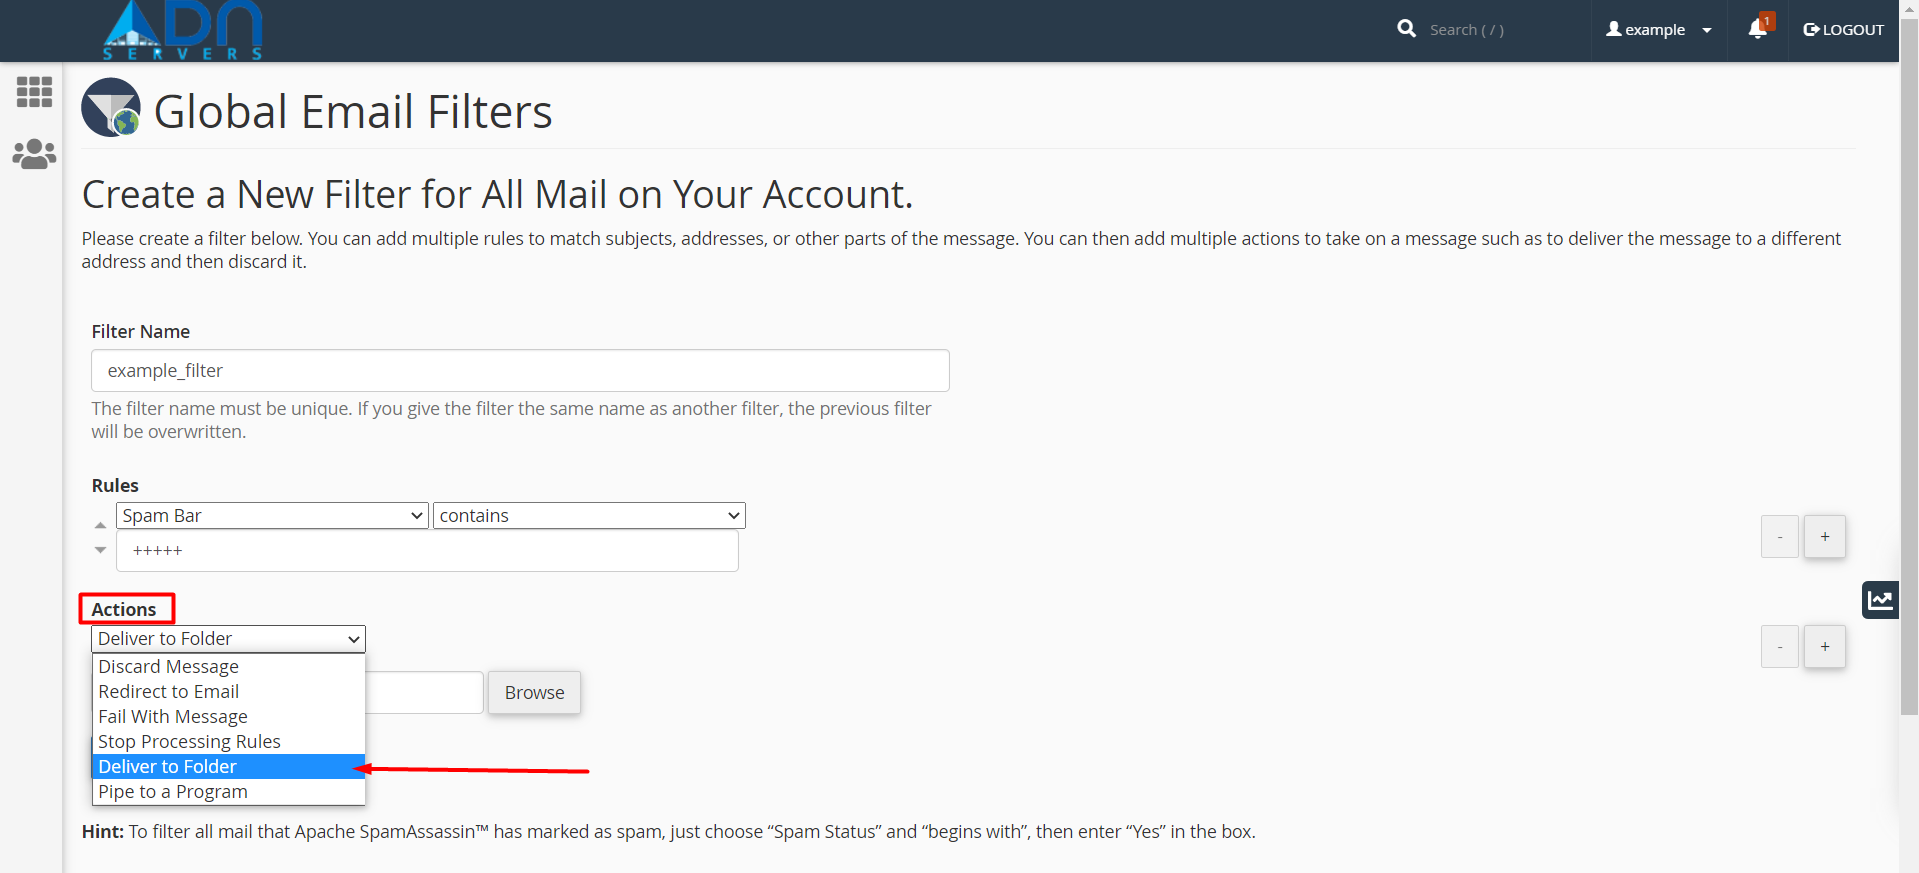
Step 09: Select Deliver to the folder from the menu in the Actions section.
Step 10: Enter the name of the folder to which you wish to send your spam email.
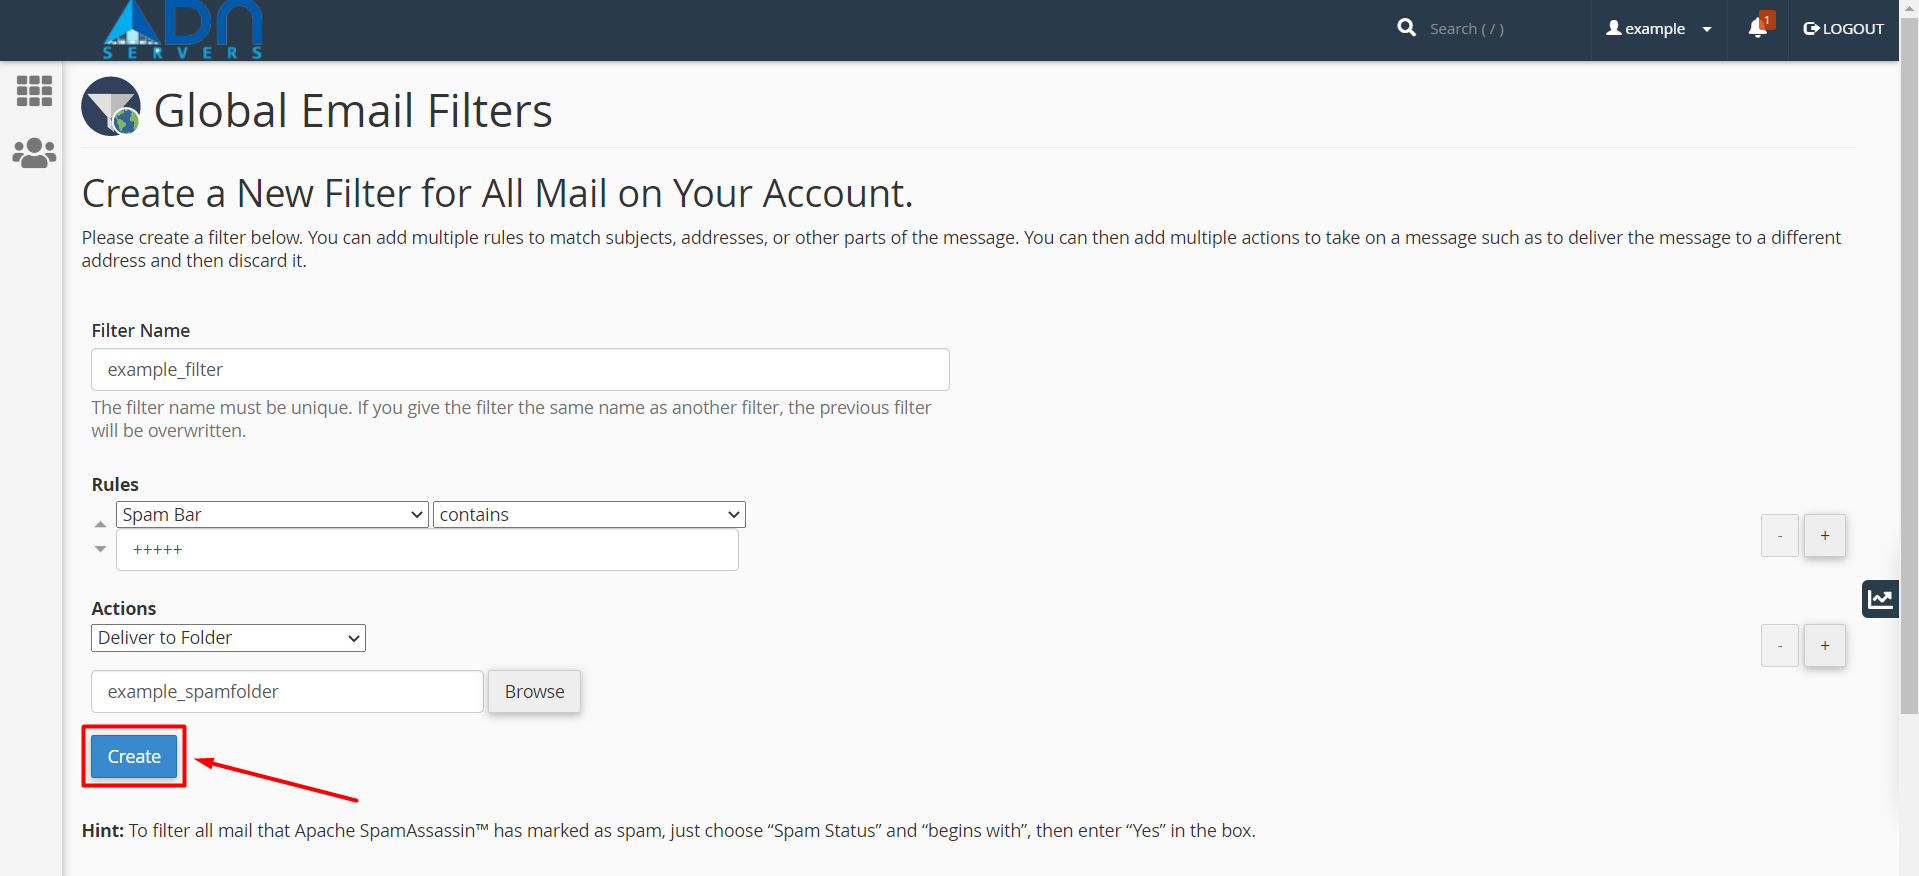
Step 11: Click Create to create, save, and activate the spam filter.
OR If you will face any issues, please email us at support@adndiginet.com to get technical support.


