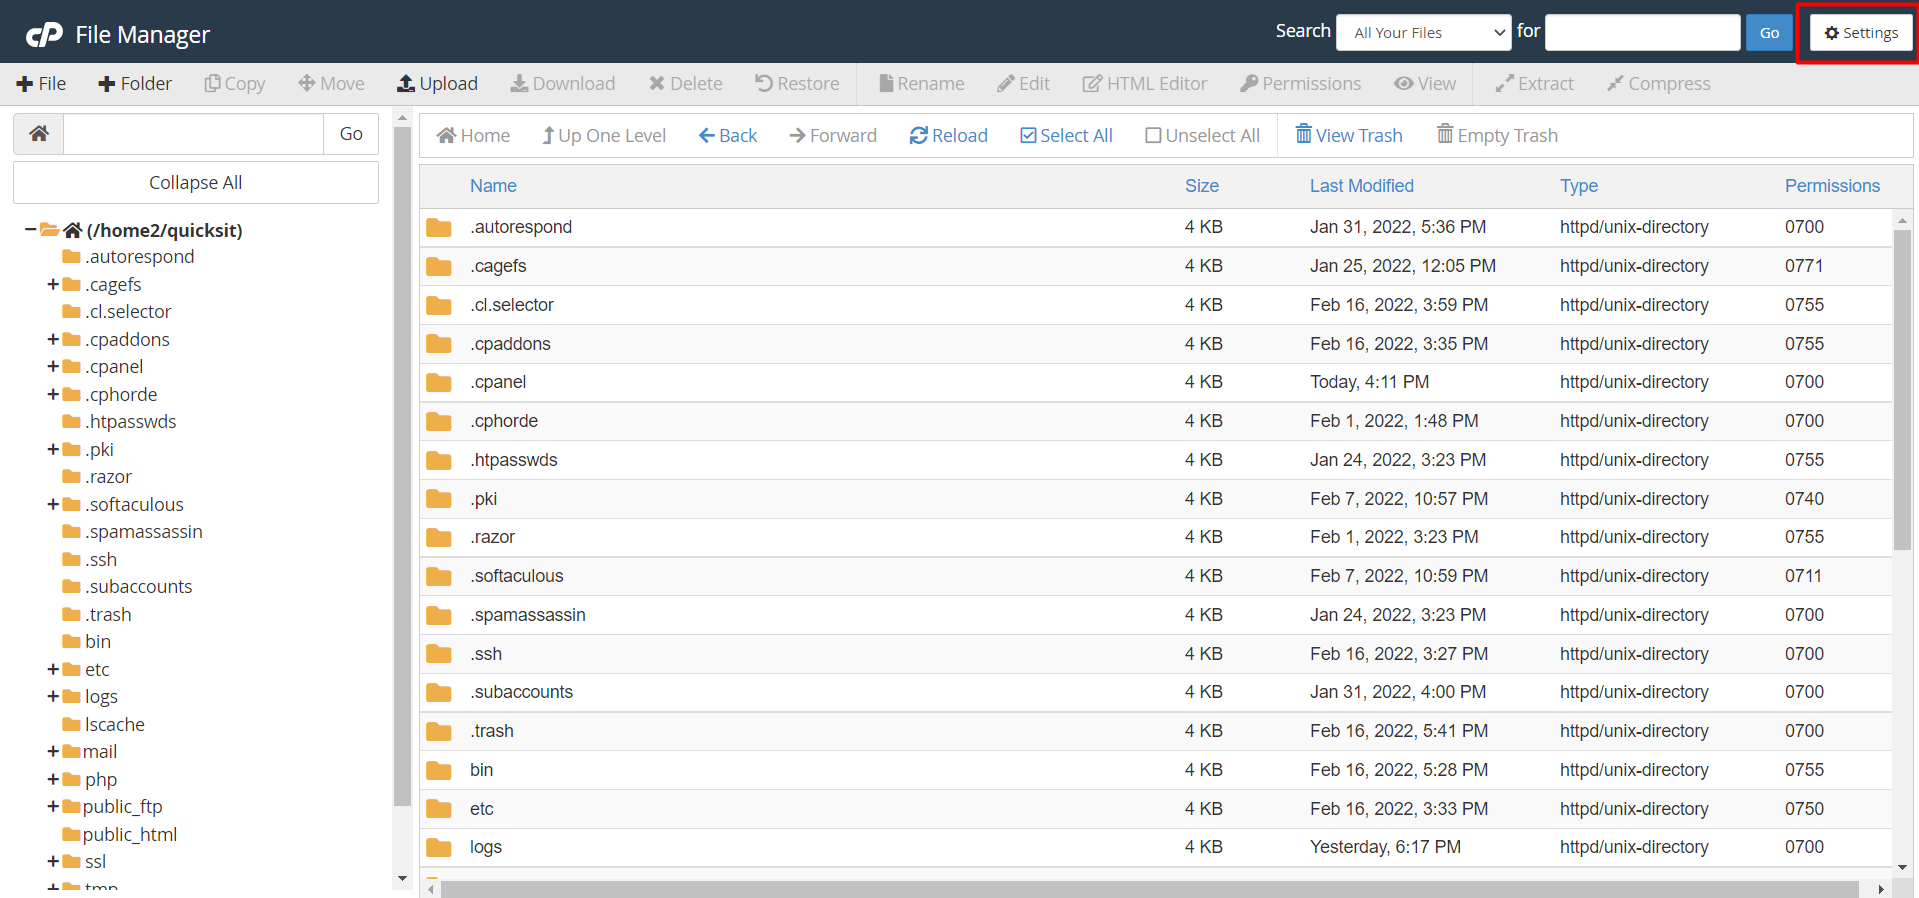
Step 01: Log in to cPanel.

Step 02: Locate the file manager in the file section and click.
Step 03: Locate the folder where you want to upload. 
Step 04: In the upper right-hand corner, click on Settings.
Step 05: Select Web Root and Show Hidden Files (dotfiles), then click Save.
Step 06: Once inside the folder, click on Upload located at the top toolbar.
Step 07: Click Select File (In some web browsers will have Choose File instead).
Step 08: Select the file you wish to upload from your computer, then click the Open button to initiate the uploading process.
Step 09: You may select additional files while the upload is in progress.
Step 10: The uploaded file should now show in your folder.
Note: If the uploaded file format is ZIP or RAR then once the file upload is done in your selected folder, you've to unzip the file.
OR If you're facing any issues, please email us at support@adndiginet.com for more technical support.


